The DJI Ronin RS3 Pro is a powerful gimbal that lets you create ultra-stable video footage. But before you can get started with it, it's important to build and balance it properly. In this blog, we explain step by step how to stabilize the RS3 Pro like a pro so you can create smooth and professional shots.
Step 1: Setting up the gimbal
Before you start balancing, you need to build the gimbal correctly:
- Mount the battery grip to the gimbal and lock it securely with the lever on the side.
- Tighten the table stand at the bottom to allow the gimbal to stand firmly on a flat surface.
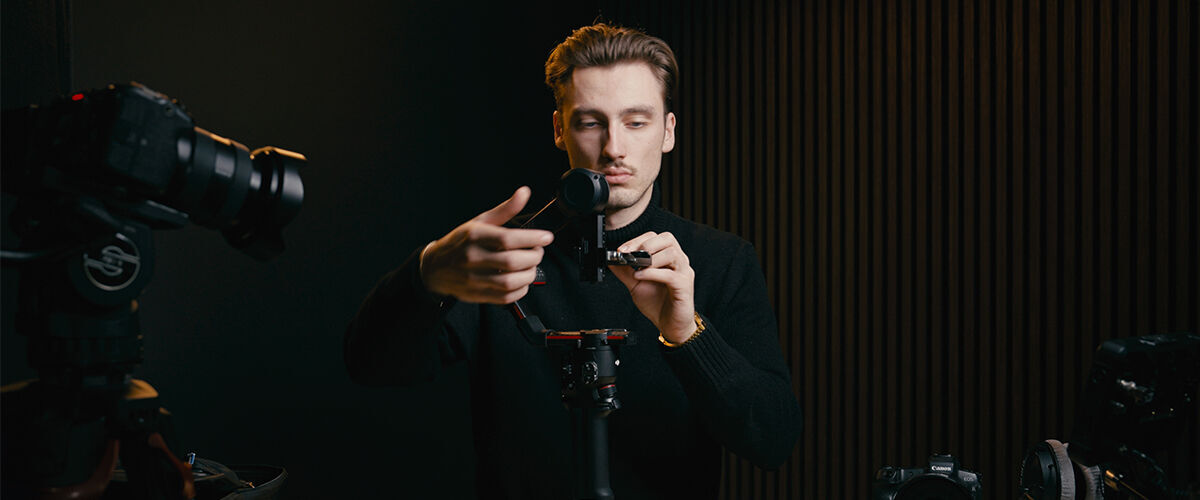
Step 2: Preparation of the axles
To correctly balance the DJI Ronin RS3 Pro:
- Unlock all axes with the levers and put them in the base position. This allows the gimbal to move freely and allows you to accurately adjust the balance.
Step 3: Attach camera
Now it's time to securely fasten your camera:
- Screw the quick-release plate under your camera and slide it into the gimbal's mounting slot.
- Lock the plate securely to prevent the camera from shifting during use.
Step 4: Balancing the tilt axis
Balance is the key to stable images and longer battery life. Start with the tilt axis:
- Slide the camera forward or backward until it remains balanced in the center. Tip: Are you using a zoom lens? Then set it roughly in the middle of the zoom range (for example, around 35mm in the case of a 24-70mm lens) for consistent balance.
- Next, rotate the camera with the lens up. Slide the camera up or down until it stays in any position.

Step 5: Balancing the roll axis
With the roll axis, you make sure the camera does not tilt left or right:
- Do you have a flip-out screen? If so, flip it open before balancing.
- Slide the camera left or right until it is fully balanced.
Step 6: Balancing the pan-axis
Finally, we balance the pan-axis, which ensures smooth movements when rotating the gimbal:
- Tilt the gimbal at a 45-degree angle.
- Is the camera pointing down? Slide the camera back slightly. Does the camera point upward? Slide the camera slightly forward.
- Find the right center point so that the camera remains stable.
Step 7: Calibrate and start
Now that you have the DJI Ronin RS3 Pro perfectly balanced, it's time for the final step:
- Turn on the gimbal and start calibration via the menu.
- Once calibration is complete, you are ready to create beautiful, smooth images!
Do you also want to take stable shots with the DJI Ronin RS3 Pro? Discover all gimbals and accessories in our webshop and take your video productions to the next level! 🚀