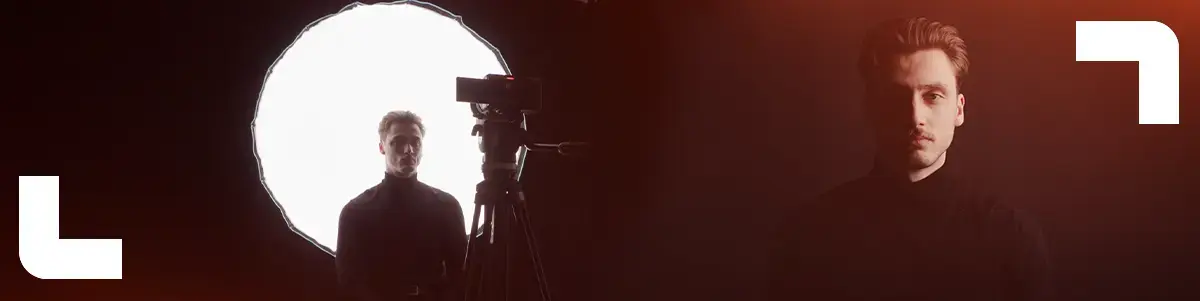
You don’t need a full studio to create five completely different portrait looks. With one light and one large softbox, you can get tons of variety, as long as you know where to place your key light.
In this blog, we’ll break down five classic lighting styles every creator should know. The best part: you keep the exact same setup and only move the light. That way, you immediately see what light position does to shadows, shape, and mood.
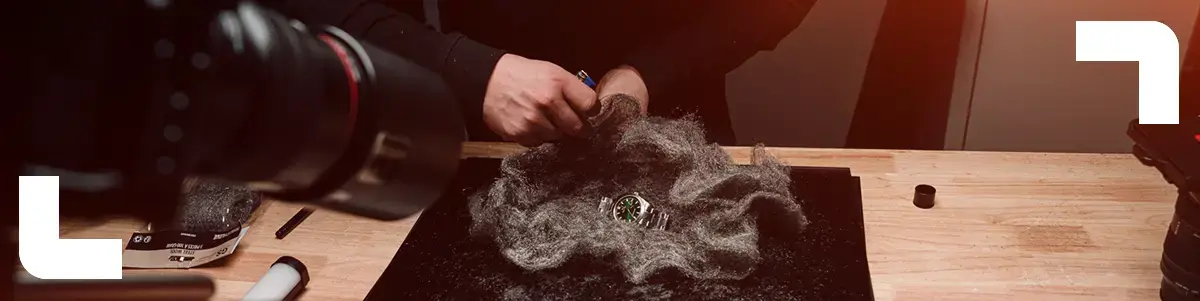
The setup (simple and reproducible)
We used just two products:
Why this combo works so well:
- The M300BI has plenty of output and lets you adjust color temperature for warmer or more neutral looks.
- The 120cm parabolic softbox creates soft, flattering light, perfect for faces.
Key tip before you start
- Lock your camera on a tripod and keep it in the exact same position.
- Don’t change framing or settings during the demo.
- Only move the light (and optionally your subject a tiny bit).
This makes the difference between setups crystal clear.
1. Rembrandt lighting
A cinematic classic. You’ll recognize it by the small triangle of light on the shadow side cheek.
How to set it up:
- Place the key about 45 degrees to the side of the face.
- Raise it slightly above eye level and angle it down.
- Look for that small triangle of light under the eye on the shadow side.
Best for:
- Character portraits
- Interview setups
- A cinematic, slightly dramatic mood
2. Butterfly lighting
Butterfly is clean and symmetrical, often used for beauty and fashion. You get a soft shadow right under the nose, like a butterfly.
How to set it up:
- Put the key centered in front of the face.
- Raise it high and angle it down toward the subject.
- Check for a soft, centered shadow under the nose.
Best for:
- Beauty content
- Clean, fresh portraits
- Emphasizing cheekbones
3. Split lighting
Bold and graphic. One half of the face is lit, the other falls into shadow.
How to set it up:
- Move the key directly to the side at about face height (around 90 degrees).
- Keep it level with the face.
- Turn the subject slightly back toward camera if you want a touch more detail.
Best for:
- Dramatic portraits
- Gritty, bold looks
- Strong storytelling visuals
4. Rim lighting
Rim light creates a sharp outline along the hair and jawline. Great for separating your subject from the background and adding depth.
How to set it up:
- Start with a soft key from the front (not too hard).
- Then move the light behind the subject and slightly to the side, so it skims the jaw and hair.
- Watch for lens flare. Angle the light slightly away or use a flag if you have one.
Best for:
- Cinematic portraits
- Dark backgrounds
- Extra separation and depth
5. Back light
With back light, the lamp sits behind the subject aimed toward camera. This can create a halo or even a silhouette, depending on exposure.
How to set it up:
- Place the light behind the subject, aimed toward the camera.
- Expose for the face (not the light).
- Let the background fall off a bit for a moodier look.
Best for:
- Atmospheric portraits
- Depth and separation
- Silhouettes and dramatic mood
Extra tip: play with color temperature
Since the Godox M300BI is bi-color, you can quickly shift the vibe:
- Slightly warmer for a cozy, soft feel
- Slightly cooler for a clean, modern look
If you want a fair comparison between setups, keep your white balance consistent.
Wrap-up
One light, one softbox, five classic looks. Lock your camera, move your key light, and you’ve got an instant lighting masterclass.