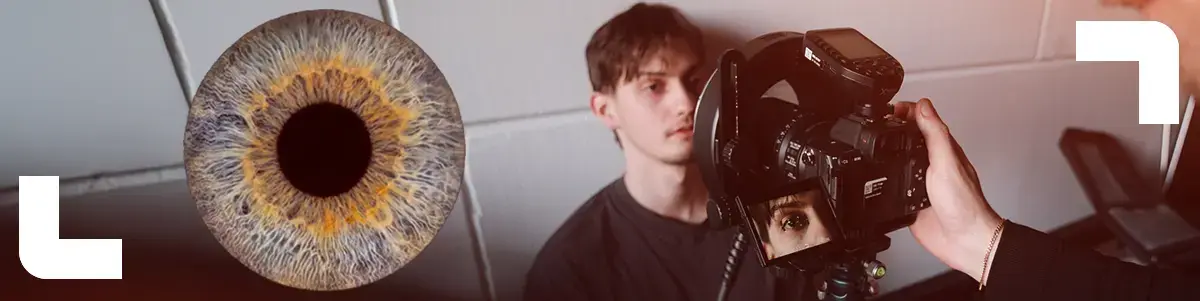
Want to add dreamy, cinematic light rays to your photo or video setup? With the right combination of light, grip and smoke, you can quickly create a spectacular effect that instantly adds depth and atmosphere to your images. In this blog, we explain how to build an open front box that makes light beams truly stand out. The technique is simple, flexible and perfect for both studio and location work.
The foundation of the effect
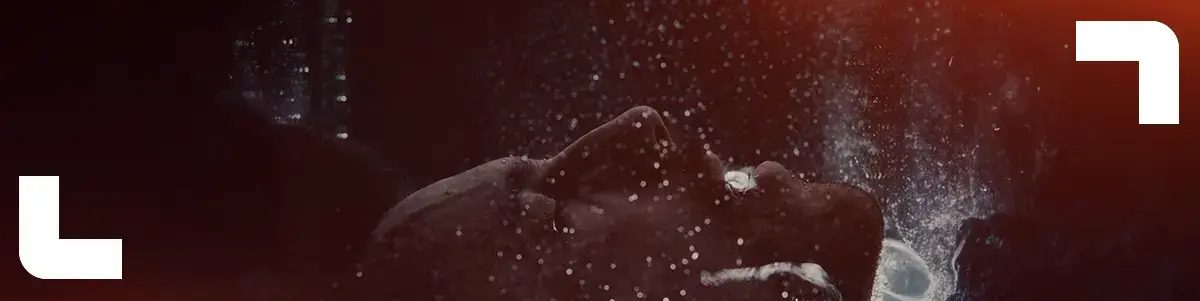
Light rays become visible when focused light passes through smoke or haze. By controlling and shaping the light, you create either sharp or soft beams that give your image a cinematic look. The key lies in controlling spill, contrast and direction.
Step 1: Build the black box
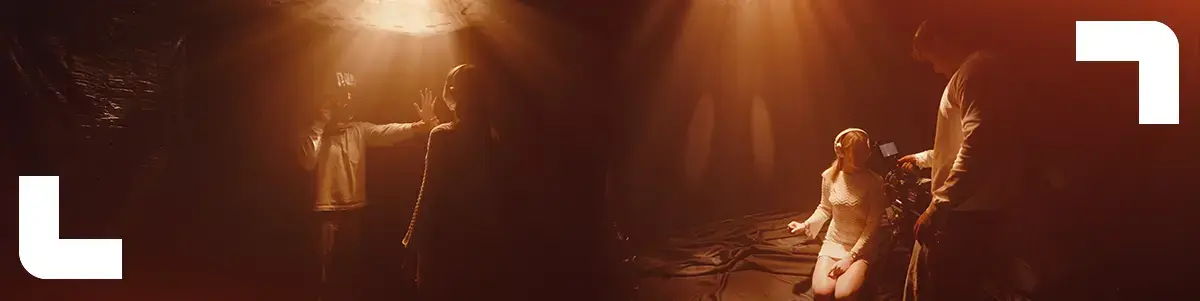
Start with a Kupo Butterfly Frame 8x8, measuring 240 by 240 centimeters. Use this frame as the ceiling of your setup. It forms the foundation of your light box and clearly defines the light coming from above.
Step 2: Control the spill
Hang 8x8 Cinebounce on three sides of the frame, with the black side facing inward. This creates instant negative fill and prevents unwanted reflections. The result is a clean, open front box with strong contrast.
Step 3: Create your ray mask
Take a light blocking fabric such as a blackout curtain, tarp or film cloth. Cut small holes into the fabric. These openings will define the shape and sharpness of your light rays.
Step 4: Create the ceiling
Stretch the fabric tightly across the top of the frame. This becomes your perforated ceiling that the light will shine through. Make sure the fabric is pulled tight for consistent results.
Step 5: Light from above
Rig a Godox KNOWLED M300BI Bi Color LED Light with Bowens mount above the frame. Aim the light downward, directly through the holes in the fabric. Thanks to the power and control of this light, you get strong, well defined beams.
Step 6: Add atmosphere
Fill the box with haze using a Look Power Tiny battery smoke machine. As the smoke spreads, the light rays appear and that dreamy, cinematic look comes to life.
Pro tip
Small holes create sharper, more defined light rays. Larger holes result in softer, wider beams. By varying the hole sizes, you can fully tailor the effect to the mood you want to create.
Why this setup works
This open front box gives you maximum control over light and contrast while keeping the front fully open for your camera. The result is a flexible setup that works perfectly for portraits, product shots, music videos and cinematic interviews.
With this technique, you instantly add character, depth and magic to your visuals. Experiment with hole sizes, light intensity and smoke density to discover just how versatile light rays can be.